Create your first social app
We created a boilerplate to help you quickly setup a social app in a local environment, and connect it with a local Pod provider. In just a few minutes, you should be able to play with your first ActivityPods-compatible app!
Requirements
- Git
- Makefile
- Docker (make sure you have the
docker-compose-plugininstalled) - NodeJS 20.0 or above
- Yarn
Clone the boilerplate repository
First clone the boilerplate repository:
git clone https://github.com/activitypods/app-boilerplate.gitSetup environment variables
A single environment variable is required: the MapBox access token to autocomplete the location field on the Pod provider frontend.
Fortunately MapBox has a generous free tier with 100,000 requests per month, so you should not need to pay anything. But you still need to get the token. See this page for more information.
Once you have your access token, copy the .env file at the root directory into a .env.local file and set it there.
cp .env .env.localnano .env.localRun the Pod provider
In order to locally run the boilerplate, you need a local Pod provider, because a remote Pod provider will not be able to interact with a local application backend.
Fortunately, we provide Docker images to launch a local Pod provider in a single command:
make startThis will also launch Jena Fuseki (the triplestore used to store semantic data) and Redis, which are needed by the Pod provider and will also be used by the application.
Create an account
If everything is running fine, you should be able to access your newly-created Pod provider at http://localhost:5000

The environment variables you setup in the previous step, and some other configurations variables, should be visible at http://localhost:3000/.well-known/config.js (this javascript file is loaded by the frontend at the very beginning).
You can go ahead and create an account.
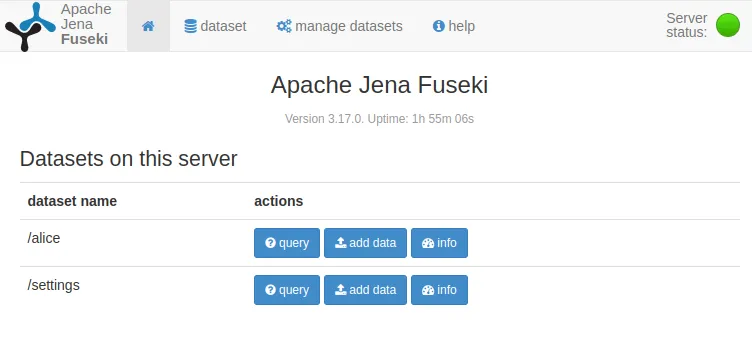
The Fuseki interface is accessible at http://localhost:3030. In local environment, the login and password are “admin”. After having created your first account, a dataset should be created with the same name. There should be a settings dataset as well, which list all available accounts.
Launch the backend
Although Docker could also be used to launch the application backend, we recommend to launch it outside of Docker to avoid the usual problems we encounter in containerized environments. The boilerplate application backend uses the Moleculer microservice framework for node.js as well.
On the other hand, we will use the same Fuseki and Redis server as used for the ActivityPods backend.
cd backendyarn installyarn run devThis will bootstrap the server and, if there are no errors, finish with a message telling you that the Moleculer ServiceBroker has started.
You can see the application details at http://localhost:3001/app
Launch the frontend
Now you can launch the app frontend.
cd frontendyarn installyarn run devA browser window should automatically be launched. If not, you can access the app frontend at http://localhost:4000
Play with the boilerplate
The “Hot module reload” feature is activated on both frontend and code, so you can do changes to the code and it will be visible almost immediately.
For the frontend, check the excellent React-Admin documentation to find what you can do. Have a look at SemApps website for specific components.
For the backend, you will find plenty of documentation on this website.
You can test emails are correctly sent by opening up the Mailcatcher interface at http://localhost:1080. You can also watch the jobs queue at http://localhost:4567
Enjoy! And if you run into any problem, please don’t hesitate to open an issue!